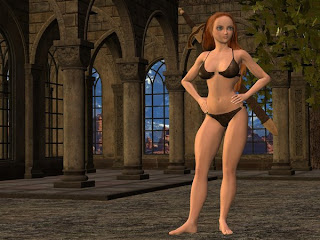
I learned this trick from Adam Thwaites when I downloaded his "bubble butt" magnets. He included a small tutorial that makes magnets work. After using the Tutorial a couple of times, I believe I can include it here based on my own experience using it. So, I will be using a magnet set included in this tutorial that is commonly available at DAZ 3d. The V4 Muscle and Creature Morph Magnet Fits by Lyrra Madril. Believe me, at $14.95 American currency, it's a STEAL!
DAZ Studio handles magnets differently than Poser. In Poser, they are magnets. In DAZ Studio, they are deformers. The way magnets work in DAZ Studio is that they are turned into deformers. This allows for some adjustments (although not all adjustments on clothing or figures is necessary).
Okay, the very first thing you want to do is load up DAZ Studio.
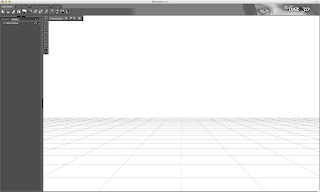
1). You load up the clothing in DAZ (or figure) that you want. Right now, lets use the super sexy Gear Punk V4 by Orion1167.
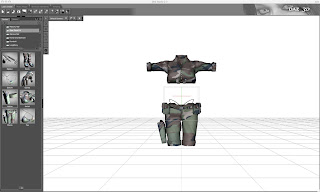
2). Load up the magnet set for the figure you want to conform the clothing to. If it's A4, you load the A4 body magnet set. We, however, are using the V4 Muscle and Creature Morphs magnet set in this tutorial. Gear Punk can already conform to A4. Watch the clothes conform to the figure. We are going to use the Olympian morph in this instance.
3). Go to the scene tab, and click "Select All" to select everything in the scene.
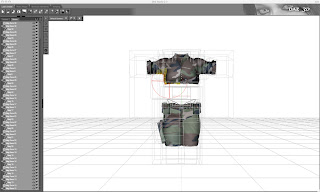
4). Click on D-form in Pose/Shape and then click on "Spawn Morph" for each of your clothing. Type in a name for your new morph (like Olympian). Click ok.
5). Click on the scene tab, and then click "Select: All Deforms."
6). Right click (for a mac, it's ctrl-click) on one of the deform objects, and then select "remove all items from scene." This will delete all the D-forms from the scene.
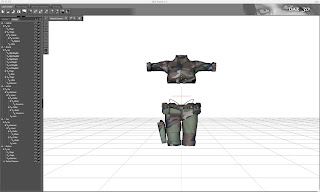
7). Select your clothes in the scene tab, and then go to the Parameters tab to search for the morph you spawned and dial it up!
8). Load your figure.
Alternatively, you can save your new morph to its parent CR2 using the Morph to CR2 python script, made to work in DAZ Studio.
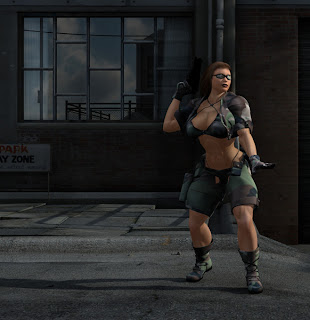
Judge the results for yourself. This is the result of adding the Olympian Morph Magnets.
6 comments:
Neatly done. Does this mean I've got tutorial competition? :D
Hope so!
If I find something else to do a How-To in DAZ Studio on, yeah. You have competition.
Step 3, "select all". Step 4, "for each". Which is it? If all of the items are selected, it is not possible to save for each item of clothing.
Steps 5 and 6 don't make any sense either. First, one is to select all and then one right clicks one of the deform objects, why? If one is removing objects from the scene, why not just hit delete?
If all the items have been removed, how can one select the clothing in step 7?
I get the feeling that this tutorial was translated from another language and that it is just a quick reference, not a tutorial at all.
@greywulf give it a go. Of all the Studio tutorials I read or watched, including stuff I had to pay for at DreamLight's site, only two have been worth it and both were written by Maclean. And one of them is actually a thread more than a tutorial. Then again, he is a photographer, so I am able to relate to his ideas and terms better than I can with others. The more tutorials are written, the better the chance of matching audience and writer.
It's pretty much all D-forms. You select all deforms in step 5. And then in step 6, you select one d-form and click on "remove Objects." This removes all d-forms from the scene.
Thank you so much it has been a fantastic guide, now to use magnet fits in daz studio is definitely simple with the help of your guidance. Thanks
Post a Comment