Rexturing DAZ Studio Content
Part 1:
Simple Clothing
Today, I thought we'd learn how to do a simple retexture of a piece of clothing for 3D. Most namely, the Speedo in M4 Basic Wear. I did a leather texture, but since my Beta Testers have reported problems with the testing, I have to redo certain textures. The first is the Camouflage texture.Part 1:
Simple Clothing
Here is the texture we are using.
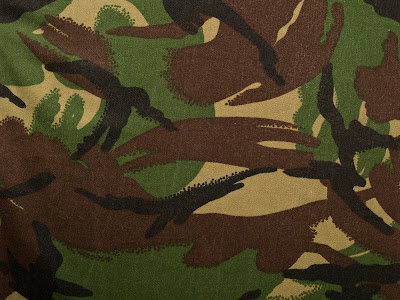
Now download the texture from Stock Exchange. If you notice the standard restrictions, we are allowed to use it as we see fit. As long as we don't use the texture for pornography or to victimize persons. Since we are doing a retexturing job, it doesn't qualify. So, download the basic wear templates, available at Digital Art Zone.
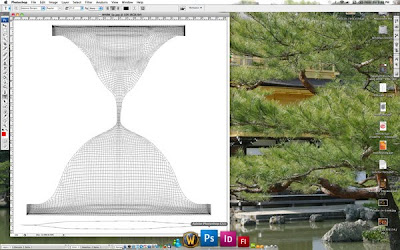
After you downloaded them, open photoshop and DAZ Studio. In photoshop, open M4BW_Sp.jpg. You should get a wire mesh. This is the UV map of the M4 Speedo. It should look somewhat like this:
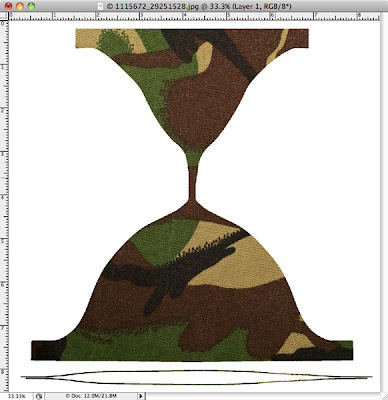
Now, lets open our Camouflage texture up in Photoshop. After opening it up, alter it so it fits the dimensions of M4BW_Sp.jpg. Which is 2048x2048. Then select all on M4BW_Sp.jpg and move it over the Camouflage texture. This creates a Speedo layer, you can name it so if you wish.
After you have it matched up, use your Magic Wand tool to select all the white space outside the template. After it's selected, you then inverse your selection using Shift-Command-I (on a Macintosh computer). Expand your selection by 2-4 pixels, and then press delete. What you should have is this:
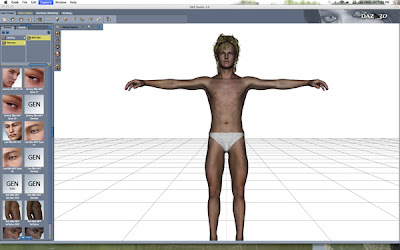
Save your texture as a JPEG file. Then open DAZ Studio, load M4 and the Speedo. As you can see here.
All that is left is to go into the Surfaces tab of DAZ Studio and resurface the Speedo with your new texture. Select Speedos or Speedos Upgrade, and in the Advanced tab, select the down arrow on Diffuse.
Notice that the texture is very much like a cotton texture? increase the Glossiness in DAZ Studio to about 95%. Now do a test render. Adjust the Specular in the surfaces tab to your liking (increase glossiness or decrease it to get certain effects.)
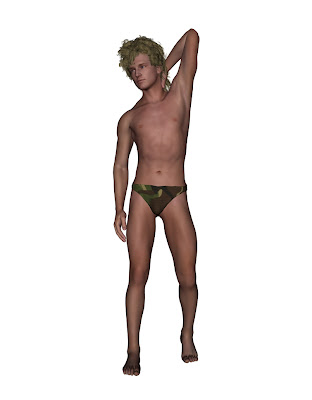 Once you have the effect you want, just simply make sure that both the Speedo and the Speedos is selected both in your scene and surfaces tab, and save as a .dsa material file (if you use DAZ Studio 3) or .ds material file (if you use DAZ Studio 2.x). Make sure you save it in your DAZ Studio/Content folder under Michael 4. And there you go, your first retexture in DAZ Studio.
2 comments:
Easy when you know how :D
That's just the simple retexture. There are more complex meshes out there, like pants. :D
Post a Comment